


Refuse the "Show of Force" for Work Stoppage! Here's Your Injection Molding Machine Holiday Maintenance Guide
01Maintenance of Injection Molding Machines at Low Temperatures
Low temperatures in northern regions can affect injection molding machine operation. It is necessary to take measures against cold and moisture to prevent freezing and equipment damage.
Injection molding machines transmit power through hydraulic oil, and the suitable operating temperature is 10℃-40℃. If the oil temperature is below this range, the viscosity will increase, leading to insufficient pressure. For customers in cold northern regions, it is recommended to install an oil temperature preheating function, controlling the oil temperature between 45℃-55℃. When starting a cold machine, the cooling water should be turned off first, and then turned on after the oil temperature rises to a reasonable range. When a cold machine is producing, products tend to be oversized, and then shrink as the oil temperature rises. This is a common reason for samples being qualified while mass production is unstable.
In addition, based on after-sales experience, new machines shipped to the Northeast region have previously experienced damage to the pre-filter due to freezing at low temperatures. Referring to the factory protection logic for the water separator block – it won't freeze if pipes are not connected and there is no water inside – it is imperative to drain all accumulated water from pipes, filters, and other components during the Chinese New Year shutdown to prevent freezing damage.
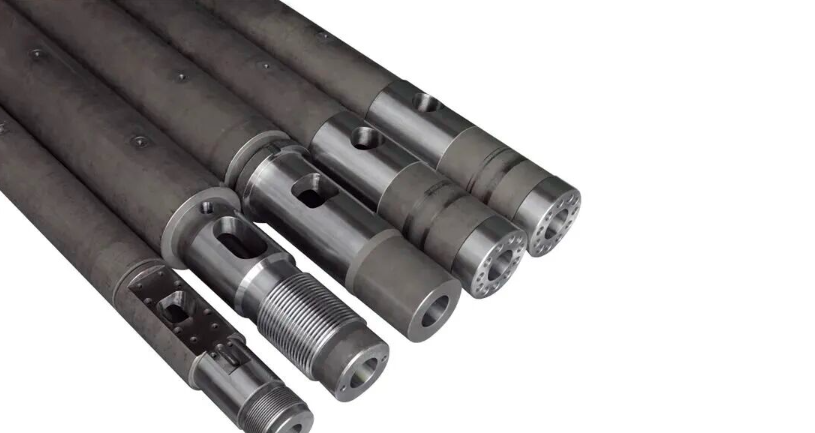
02Barrel cleaning
Before shutting down the injection molding machine, the plastic inside the barrel should be thoroughly cleaned to prevent residual material from oxidizing or decomposing due to prolonged heating. Once cleaning is complete, retract the screw to its maximum stroke position. This prevents the screw head from being damaged by overheating during the next startup.
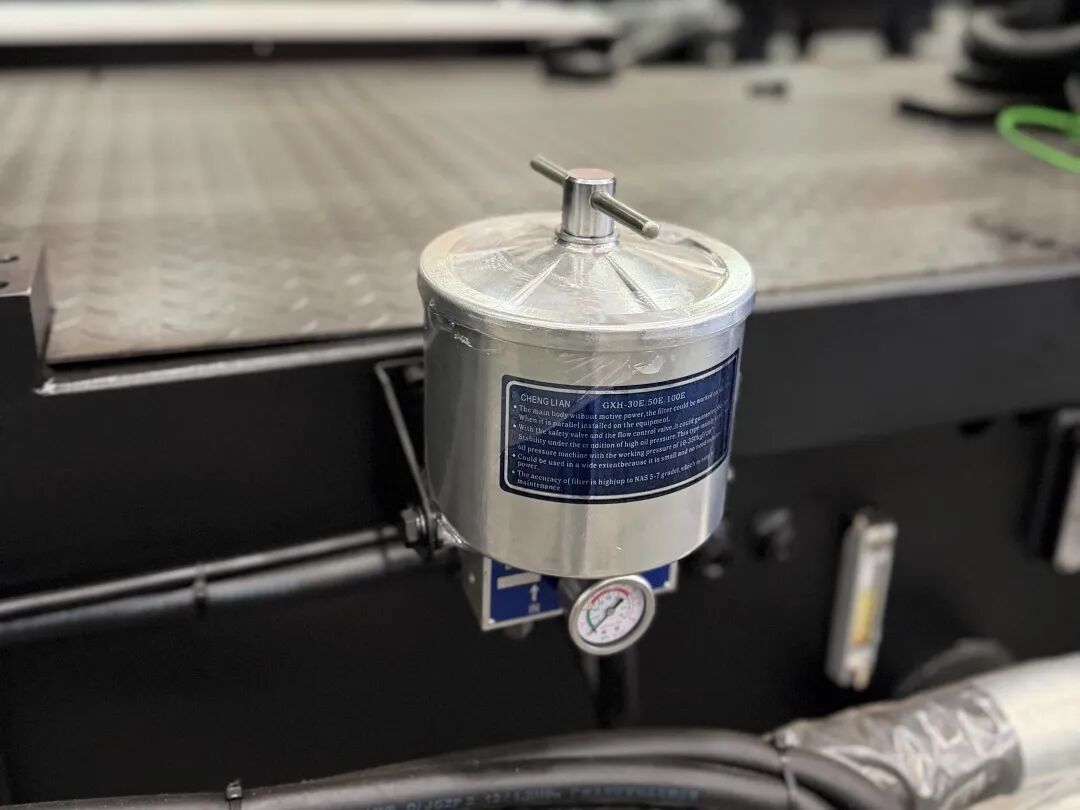
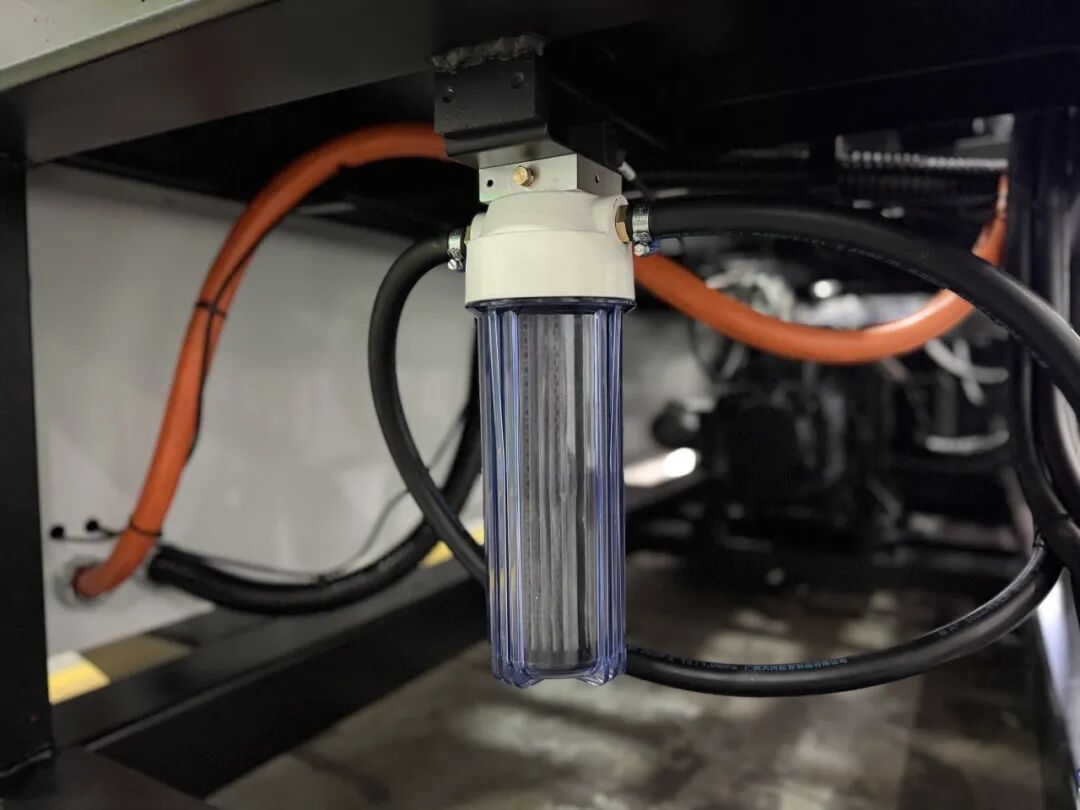
03Hydraulic Oil Bypass Filter Inspection
For the bypass filter of the injection molding machine's hydraulic oil, if the pointer of the pressure gauge points to or is close to the red area, stop the oil pump and replace the bypass filter element.
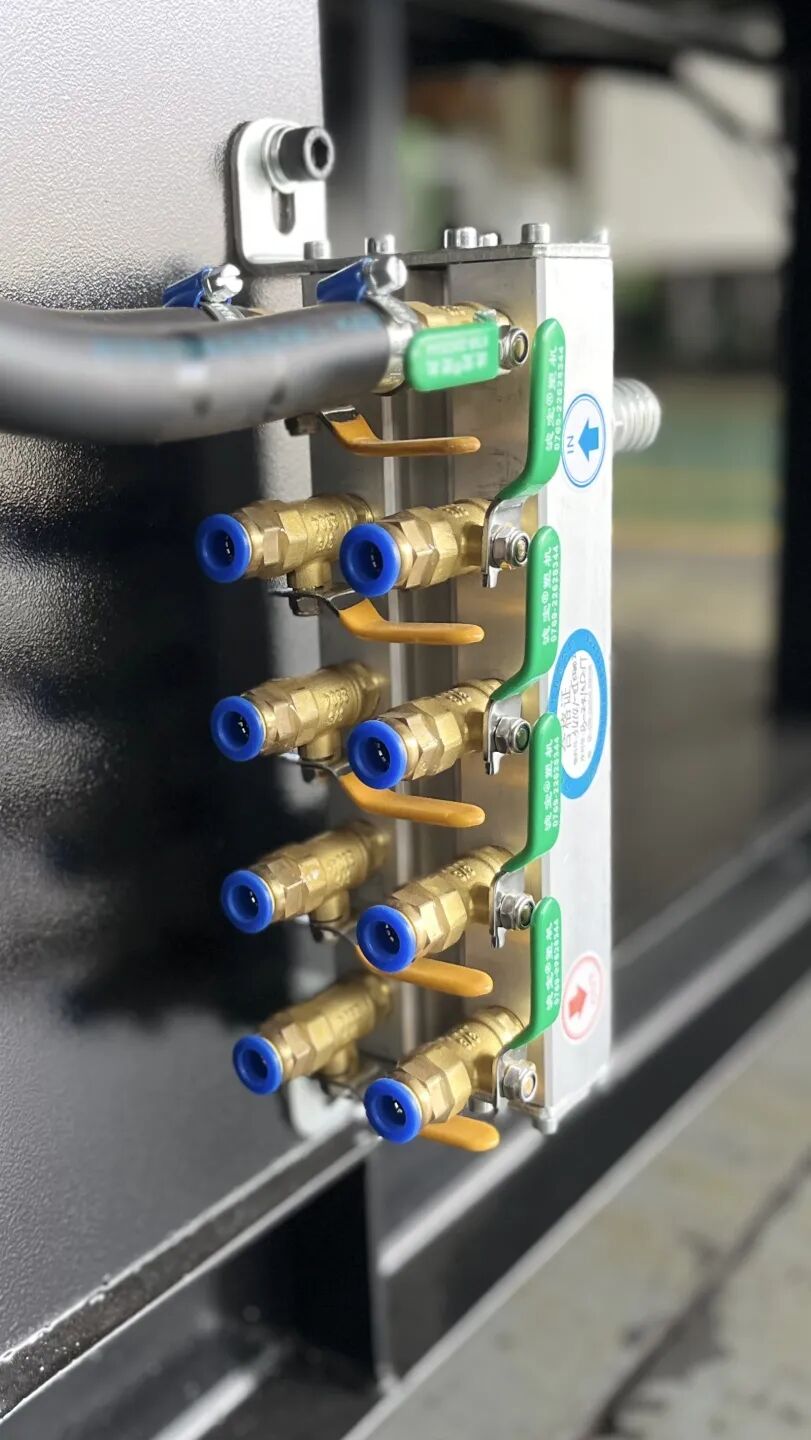
First, turn off the power to the cooling tower, tower outlet pump, chiller, and mold temperature controller. Then, proceed with the following four drainage protection measures.
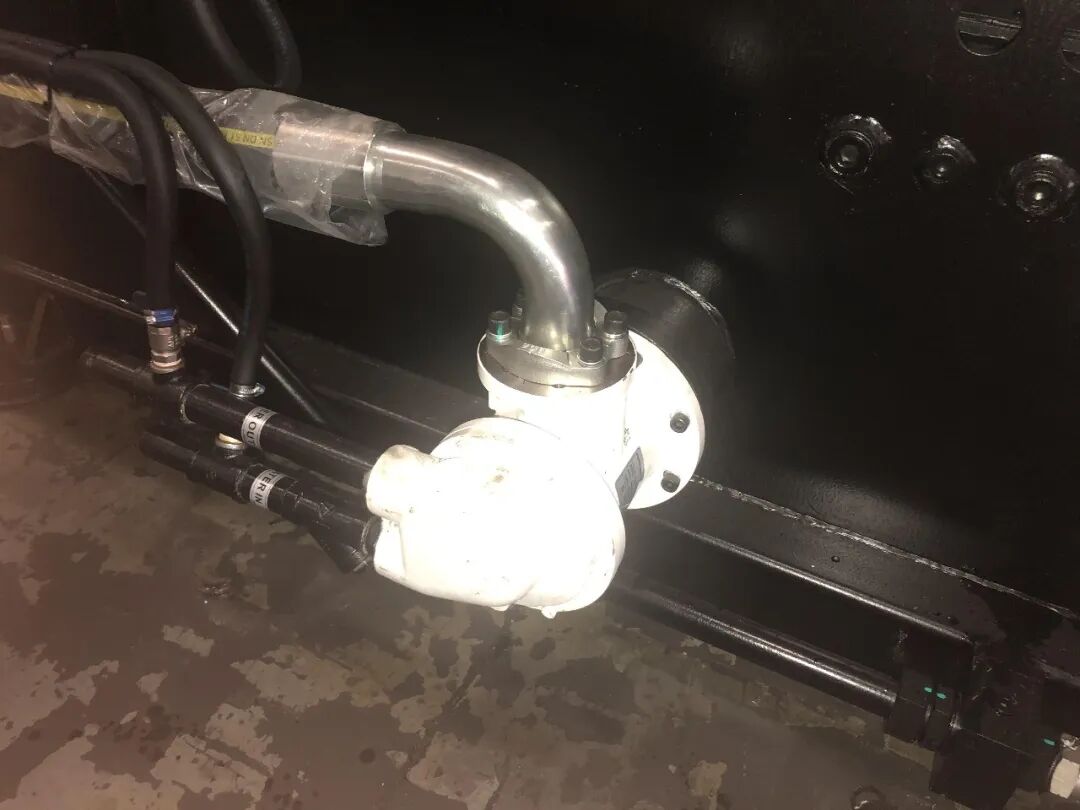
1.Close the inlet and outlet water valves of the injection molding machine's hydraulic oil cooler, disconnect the inlet and outlet water pipe joints, and use a compressed air gun to thoroughly blow out all residual water from the cooler. This prevents internal rusting, oxidation, or damage to the oil cooler caused by freezing. Additionally, the filter screen on the water inlet pipe of the oil cooler must be cleaned.
2.Close the inlet and outlet valves of the barrel (barrel) cooling water jacket. Remove the inlet and outlet pipe joints. Use the air gun of the air compressor to blow out all residual water inside the cooling water jacket (drain it) to prevent rust or oxidation inside the water jacket.
3.Close the inlet and outlet water valves of the mold (male/female mold), disconnect the inlet and outlet water pipe connectors, and use the air gun of an air compressor to blow out all residual water inside the mold's cooling system to prevent rust on the mold core.
4.Finally, turn off the power to the air compressor and completely release the residual air pressure.
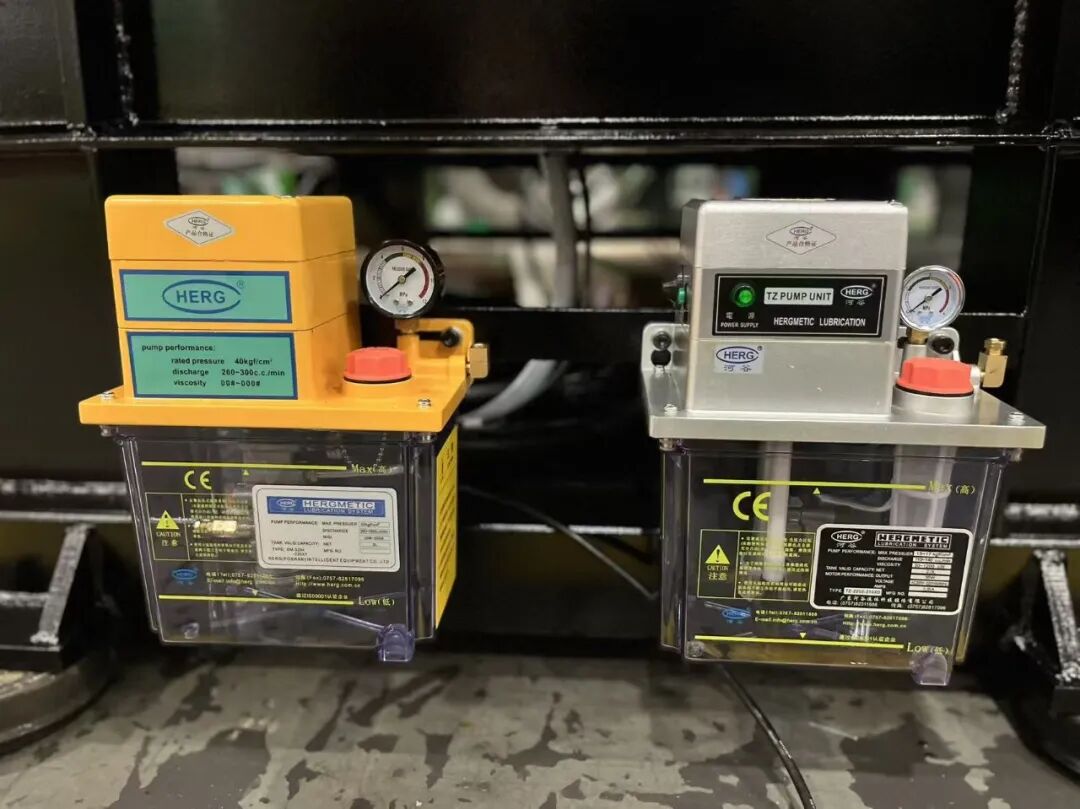
04Lube Oil Tank Inspection
Thoroughly clean the sediment inside the lubricant tank and replace the gear oil. After filling with new oil, a manual lubrication test must be performed. Observe whether the indicator rod of each lubricant distributor extends (the indicator rods must retract smoothly when the lubricant pump relieves pressure) and check for any ruptures in the oil pipes; ensure timely replacement if any issues are found.
05Robot protection
Reset the robot position. Typically, during a short shutdown, the mold remains in place and the robot only moves transversally out of the machine. However, for a long-term shutdown with the mold removed, the robot position must be restored to its home state.

06Mold Protection
During the holiday shutdown, there's no need to leave the mold on the machine for an extended period. Instead, remove it for secondary and tertiary mold maintenance (specifically following the mold TPM maintenance procedure).
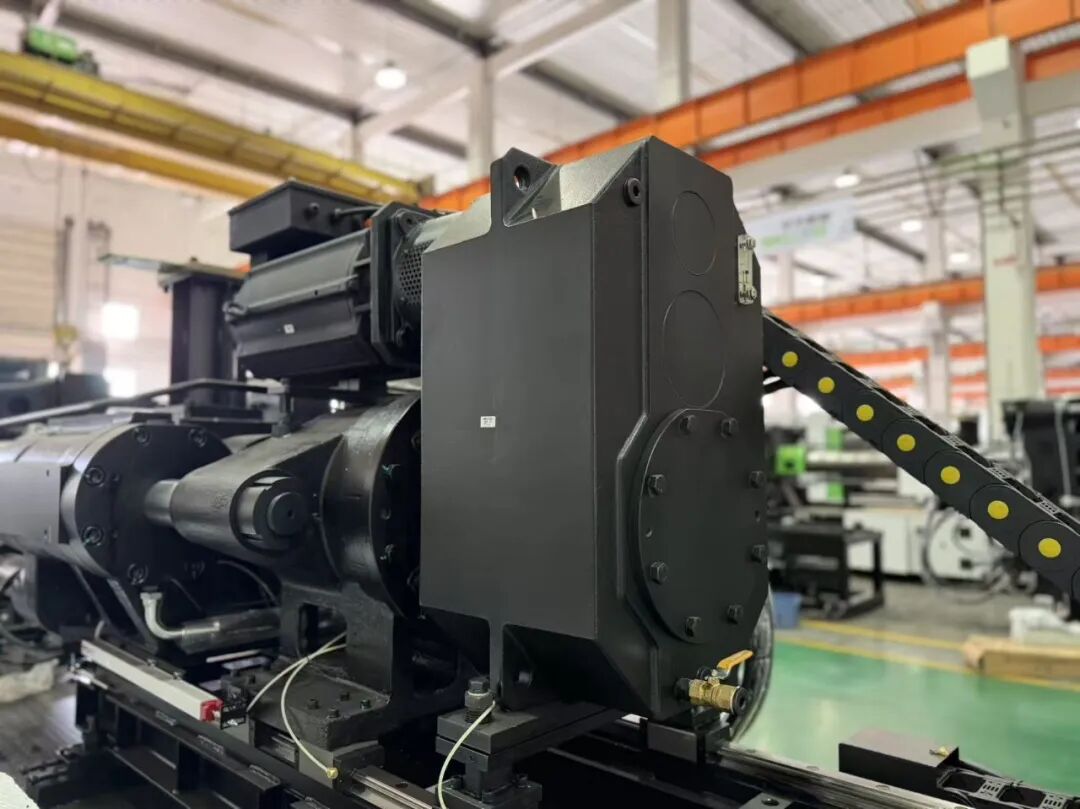
07Hot melt adhesive maintenance
Use an air gun to blow out residual water from the cooling channels of the electric injection gearbox. Similarly, the residual water in the conventional water-cooling mechanism of the electric injection motor must also be blown clean. It is recommended to replace the filter element of the pre-filter. For machines using antifreeze to cool the electric injection motor, check if the antifreeze level is within the standard range (top up if insufficient).
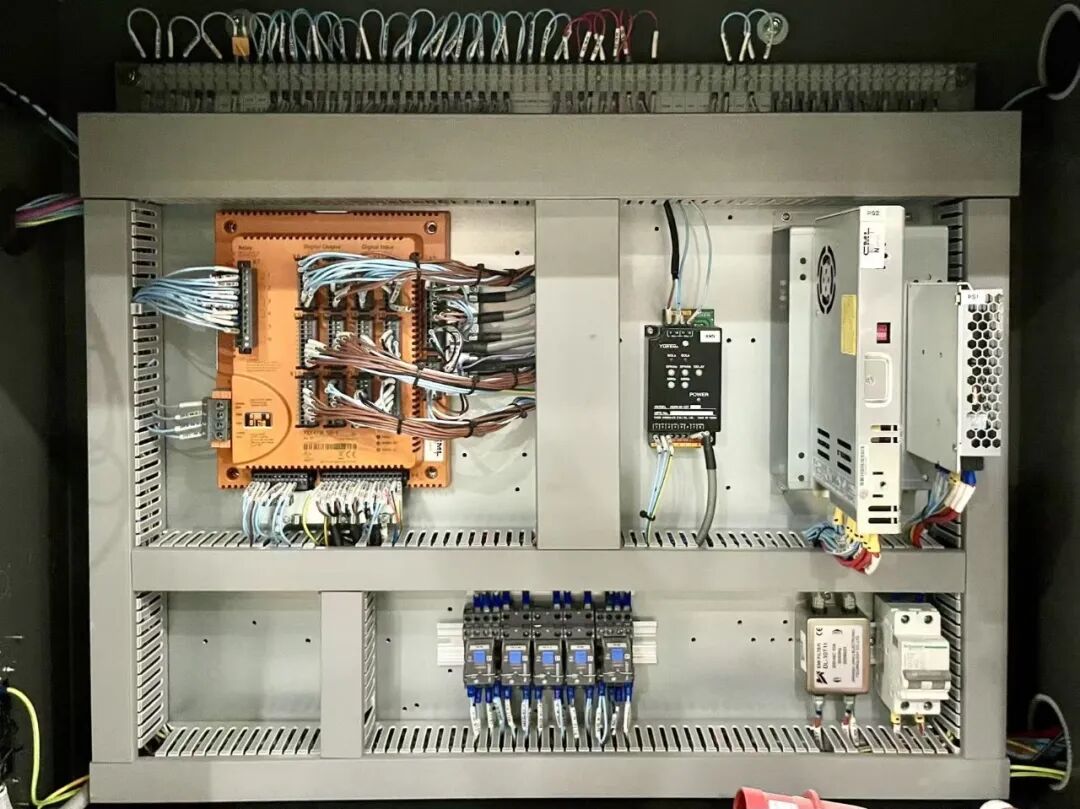
08Cleaning the Electric Control Box
To clean the injection molding machine's control cabinet, first turn off the main power supply. Remove the air inlet filter and clean it using a high-pressure air gun. Then, use a vacuum cleaner to remove dust from inside the cabinet. After cleaning, turn on the power and inspect the exhaust fans at the air outlets for any abnormal noise or failure to rotate; if any issues are found, replace the fans promptly.
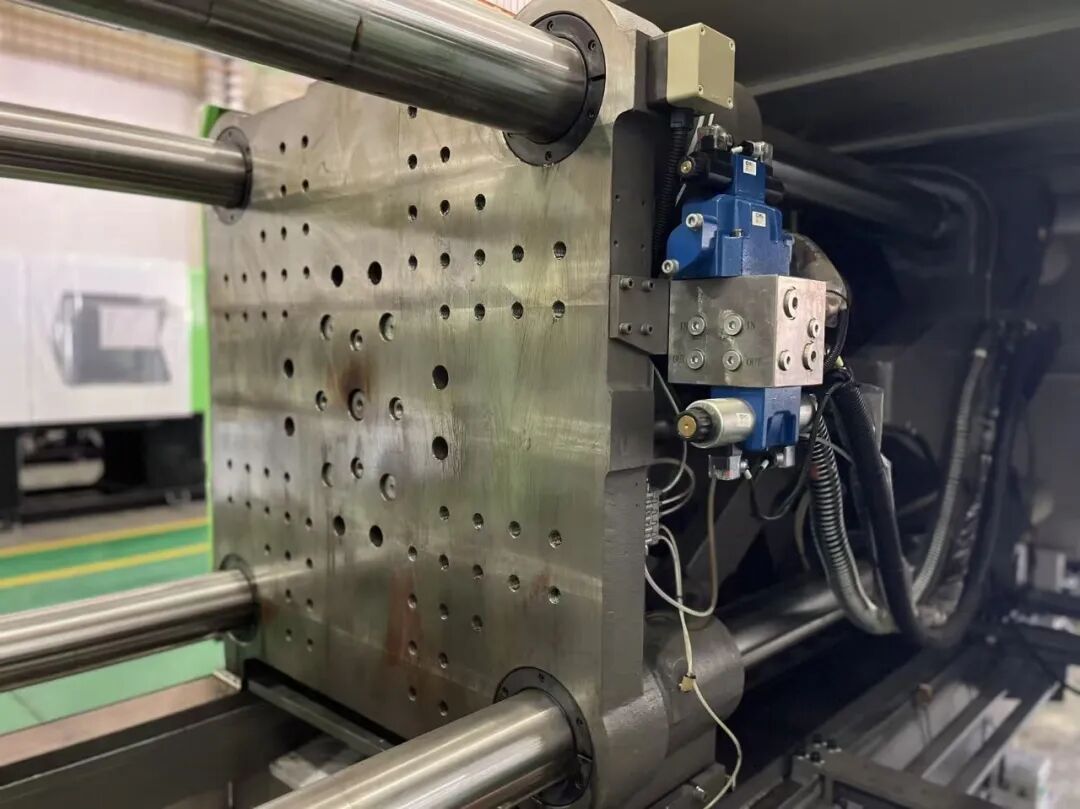
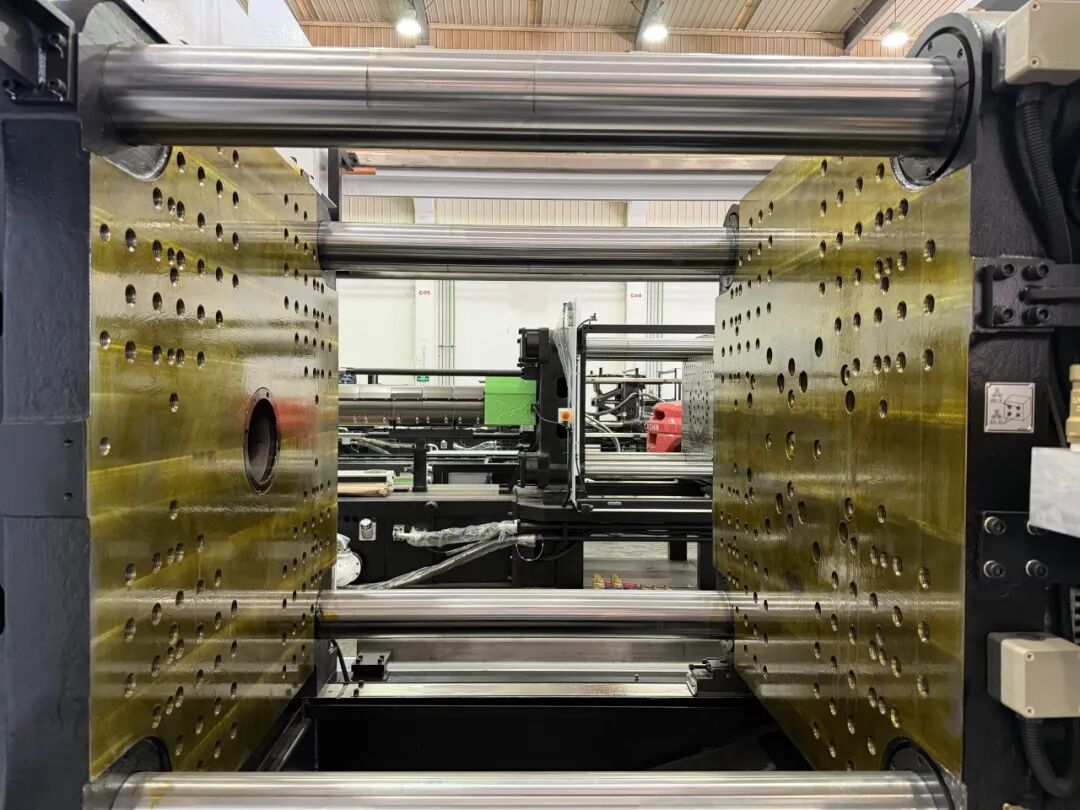
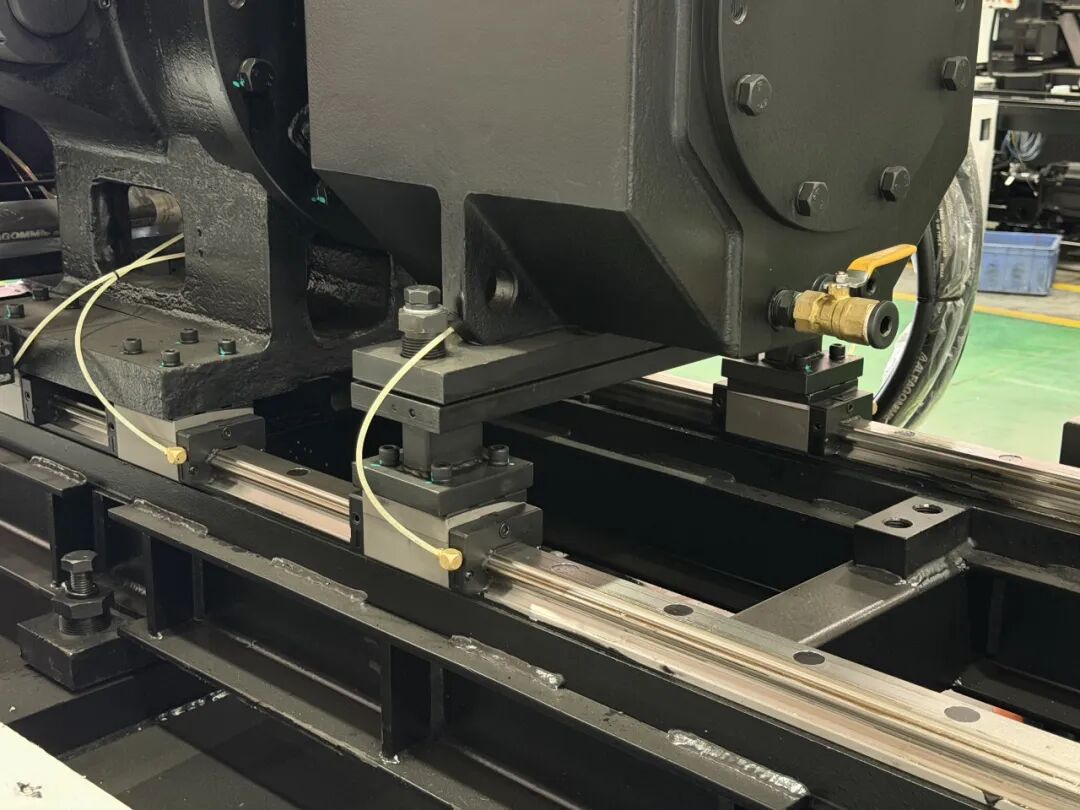
09Maintenance of Mold Adjustment Area and Injection Tail Plate Lubrication Area
For the maintenance of mold adjustment and injection tail plate lubrication points, it is crucial to perform maintenance at least every six months, and each time ensure that new oil goes in and old oil comes out.
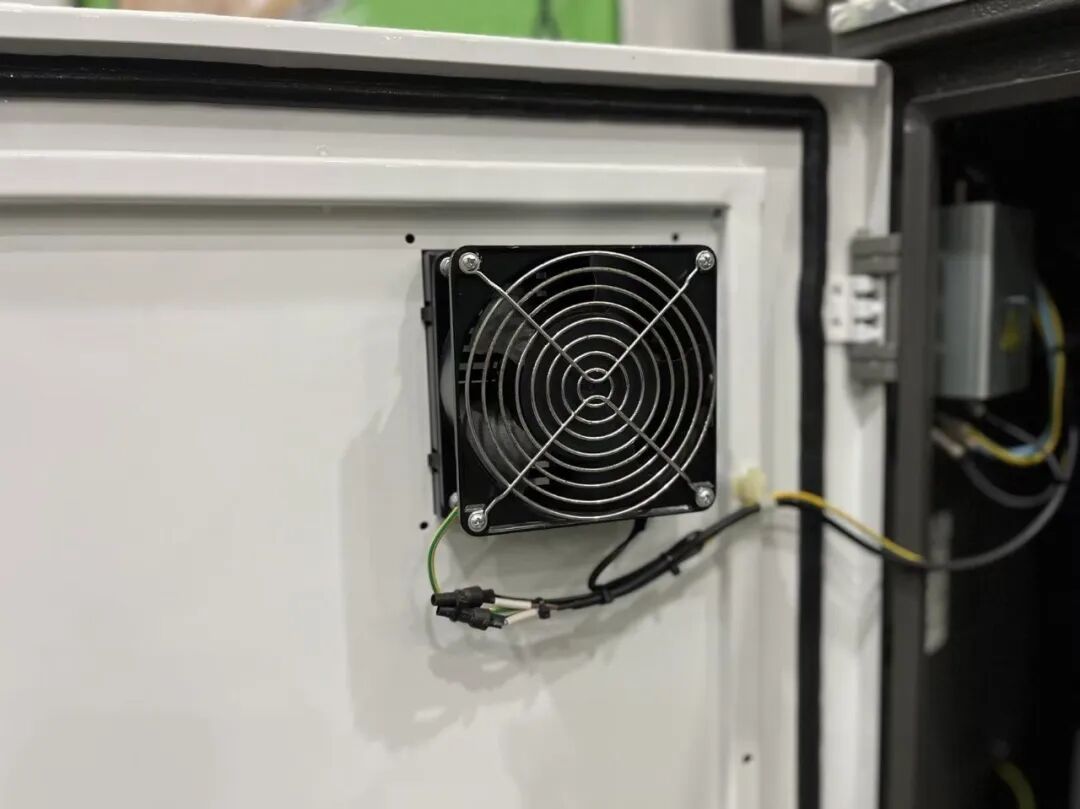
10Motor cooling fan processing
Open the motor sealing plate to observe if the motor fan is operating normally. If the fan is not rotating, it needs to be replaced promptly. Additionally, use an air gun to clean the dust on the motor cooling fan and the motor's heat dissipation fins. Ensure the machine's power is turned off during cleaning.
11Basic cleanup, housekeeping
Close all doors and windows, implement moisture-proofing for electrical boxes, and ensure control box doors are tightly shut to prevent rodent damage. Take other necessary anti-rodent measures. Finally, perform 5S cleaning of the surrounding area, ensuring all metal chips, material pellets, oil stains, water spots, and debris are thoroughly cleared.
【Copyright and Disclaimer】The above information is collected and organized by PlastMatch. The copyright belongs to the original author. This article is reprinted for the purpose of providing more information, and it does not imply that PlastMatch endorses the views expressed in the article or guarantees its accuracy. If there are any errors in the source attribution or if your legitimate rights have been infringed, please contact us, and we will promptly correct or remove the content. If other media, websites, or individuals use the aforementioned content, they must clearly indicate the original source and origin of the work and assume legal responsibility on their own.
Most Popular
-

Key Players: The 10 Most Critical Publicly Listed Companies in Solid-State Battery Raw Materials
-

Vioneo Abandons €1.5 Billion Antwerp Project, First Commercial Green Polyolefin Plant Relocates to China
-

Clariant's CATOFIN™ Catalyst and CLARITY™ Platform Drive Dual-Engine Performance
-

Multifaceted Collaboration: PA Prices Rebound Against Trend to Break Through
-

Dow suffers poor performance, announces major layoffs of 4,500 employees