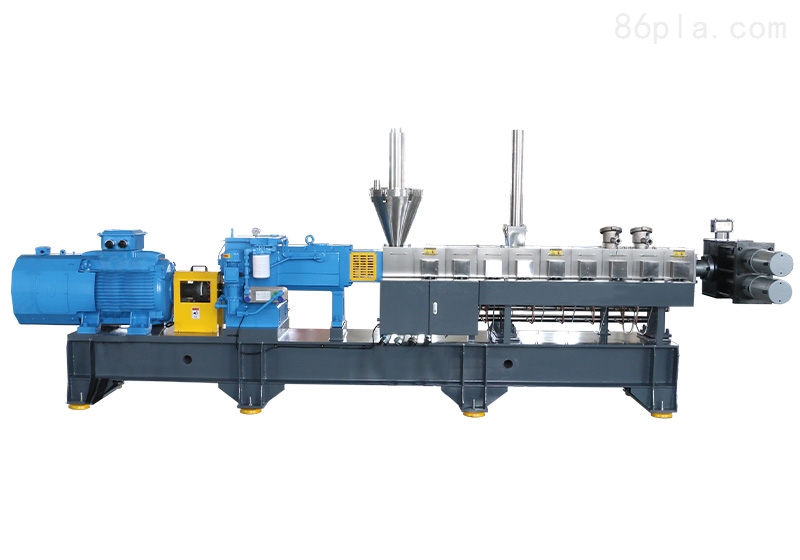
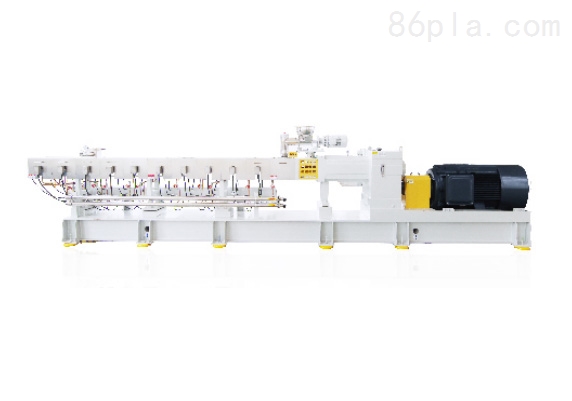
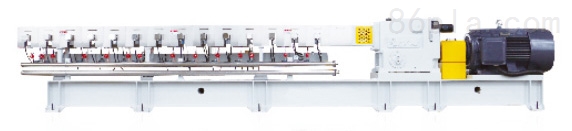
Brief Description: The screw industrial pelletizing machine integrates mixing, conveying, feeding, and extrusion pelletizing into one line, achieving automated continuous operation with high production efficiency.
Precautions for Screw Industrial Pelletizing Machine:
1. Before starting, heat the machine for about 40 to 50 minutes until the temperature reaches a level where the motor V-belt can be easily pulled by hand. Pull the V-belt 8 to 10 times in the normal working direction, continue heating for another 10 minutes while maintaining the temperature as normal production requires continuous heat input. Adjust the temperature according to the different properties of the plastic.
2. Ensure that the mechanical temperature remains stable before normal operation; do not let it stay at excessively high or low levels.
3. If feeding is uniform, the machine's feed rate should match the conveying speed; otherwise, it will directly affect the quality and output of the plastic pellets.
4. Before stopping, all plastic inside the pelletizing machine's screw must be emptied and cleaned.
5. When shutting down the main unit, disconnect the power supply. Before the next use, disassemble and preheat the die head plug separately.
Operating Procedures for Screw Industrial Pelletizing Machine:
I. Extruder
1. Check the feeder and hopper to ensure there are no impurities in the hopper;
2. Check that all screws are in good condition;
3. Check if the vacuum equipment of the extruder is unobstructed, ensuring the vacuum degree is no less than -0.08 MPa. The vacuum chamber should be cleaned twice per shift. Do not use metal tools to clean the exhaust port; use plastic or wooden sticks to remove impurities from the exhaust port.
II. Auxiliary Equipment
1. Check if the cooling water system is unobstructed;
2. Check the cutter to ensure nothing obstructs the cutting saw;
3. Ensure all electrical components are in good condition.
III. Die Installation
1. Ensure the die is installed horizontally and the bolts are tightened;
2. Ensure each bolt has sufficient strength, and the gap between the extruder flange and the die flange is equal;
3. Secure the heaters and thermocouples sequentially on the die. The heater must be tightly pressed against the die surface.
IV. Installation of Calibration Mold and Water Tank
1. Install the calibration mold horizontally on the calibration stand, ensuring the mold and the die head are level both horizontally and vertically;
2. Connect the cooling water pipes sequentially to the calibration mold and ensure the connections are watertight.